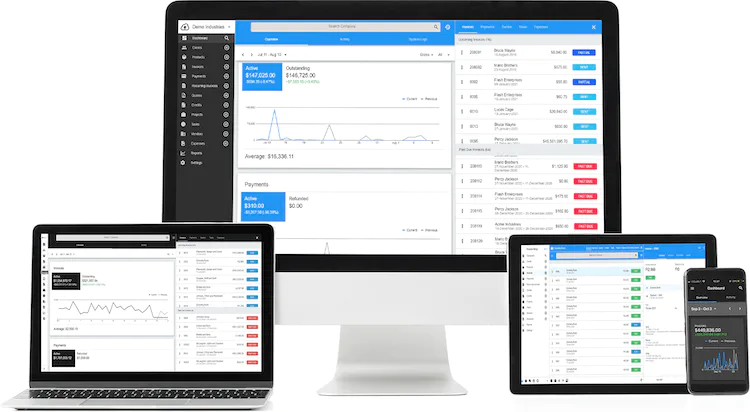
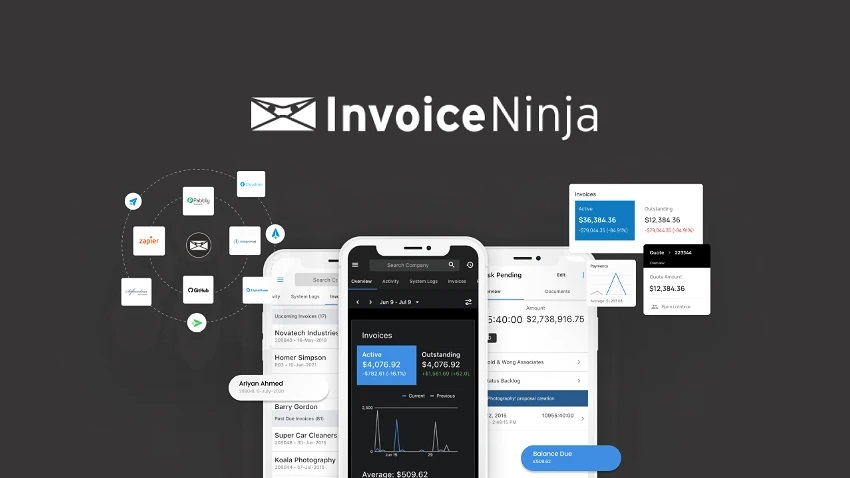
Invoice Ninja is like your trusty sidekick for managing money matters if you’re running a small or medium-sized business, or if you’re a freelancer. With Invoice Ninja, you can do a whole bunch of important stuff, and the best part? It won’t cost you a dime.
The Invoice Ninja API And Its Purpose
Invoice Ninja has this thing called a RESTful API. It’s like a special door that lets computer programs talk to Invoice Ninja and do things with its data. Let me share some important stuff about this Invoice Ninja API:
To get inside this API, you need to make a special key called a “token.” You can make this key on the “API Tokens” page under “Advanced Settings.” It’s like a secret password for computers.
This API is built using something called the “Laravel Framework.” It’s a famous tool that helps people make websites and computer programs using a language called PHP. You can find lots of guides and lessons on how to use it.
The address you need to go to for this API is like a web address, but it starts with “/api/v1.” It’s where you knock on the door to talk to Invoice Ninja.
When you talk to this API, it sends back messages in a special code called JSON. It also uses regular computer talk like “HTTP response codes,” “authentication,” and “verbs.” These are like the rules it follows when you chat with it.
If you want to know everything about this API, you can find it on SwaggerHub. It’s like a big book that explains how everything works.
Right now, Invoice Ninja doesn’t have a special tool for using this API with PHP, but it does have something called a “Flutter plugin.” It’s like a helper for another language.
With this API, you can do cool things like read and change data, make payments, and try to automatically charge people for invoices using their saved payment info or credits.
If you’re on the Invoice Ninja Enterprise Plan, you can even make a custom web address for your clients. It lets them see and pay their bills online, which is pretty handy.
Why Choose Invoice Ninja API?
The Invoice Ninja API is pretty cool for your business, and it can do a bunch of good stuff. Let’s dive into it:
Integration with Other Tools
This API works like a bridge that connects with more than 500 other tools. Imagine it as a super connector, thanks to a thing called Zapier. This means you can make your invoicing and getting paid jobs easier when you team up with other partners.
Automation Powers
With the Invoice Ninja API, you can make things happen automatically. It can push data into your CRM (that’s a fancy way of keeping all your customer info in one place) and other systems. This is like having a robot helper that saves you time and makes sure things don’t go wonky.
Customization Galore
You know how you can customize your pizza with all your favorite toppings? Well, the Invoice Ninja API lets you customize your application just the way you like it. You can build your own apps that do cool stuff like making invoices, taking payments, creating reports, managing clients, and much more. It’s like having your very own superhero toolkit for business.
Super User-Friendly
If you like using the app in your own language, this API’s got your back. It can make the app speak your native language. So, no more scratching your head trying to understand a language you’re not too comfy with.
More Access for Everyone
Not everyone speaks the default language of the app. But with the Invoice Ninja API, you can make it friendlier for folks who speak different languages. It’s like opening the door to more people, making your business more welcoming.
So, there you go! The Invoice Ninja API can be like a trusty sidekick for your business, helping you connect, automate, customize, and welcome more people into your world.
Related: Is Invoice Ninja Safe? A Review Of Its Security Practices
How to Get API Credentials for Invoice Ninja
If you want to get API credentials for Invoice Ninja, you can follow these simple steps:
1. Access Your Invoice Ninja Dashboard
First, go to your Invoice Ninja dashboard. This is like the control center for your Invoice Ninja account.
2. Find Settings or Account Management
Look around for a section called “Settings” or “Account Management.” It’s like the place where you can make special changes to your Invoice Ninja account.
3. Locate the API Keys or API Tokens Section
In the Settings or Account Management section, there will be a part that says “API keys” or “API Tokens.” These are like secret codes that you need.
4. Add a New Token
Click on the option to add a new token. It’s a bit like giving a name to your secret code. After you enter a name, make sure to click on the “Save” button.
5. Get Your New Token
The system will do some magic and create a brand-new token number for you. This token number is like your special key to open the door to Invoice Ninja’s special features.
6. Use Your Key and URL
Now, you can use your key along with your Invoice Ninja website address (URL) to do some cool things with Invoice Ninja. It’s like having a magic wand to make things happen in the app without clicking around.
With your API credentials, you can tell Invoice Ninja to do certain things automatically, just like how a wizard uses spells to make magic happen! So, follow these steps, and you’ll have your Invoice Ninja superpowers ready to go.
How to Make API Requests Secure in Invoice Ninja
To make sure your API requests are safe in Invoice Ninja, follow these simple steps:
1. First, go to the Advanced Settings and find the API Tokens page.
2. Here, you’ll create something called an API token. Think of it like a secret key that makes sure only the right people can use the API. We call this key X-API-TOKEN.
3. Now, why do we need this token? Well, it’s like a special key that lets Invoice Ninja talk to other helpful companies. These companies help us with things like invoices and payments, making everything easier for you.
So, whenever you use the Invoice Ninja API, remember to use your API token. That’s how we keep everything safe and sound.
Read also: Invoice Ninja Remove Branding. What You Need To do.
How to Make an API Token in Invoice Ninja
If you want to make an API token in Invoice Ninja, follow these steps:
1. Start by going to the “API Tokens” page. You can find it under “Advanced Settings.”
2 Once you’re there, look for a blue button at the top right corner of the page. It says “Add Token +.” Click on that button.
3. A box will pop up, and in there, you need to type in a name for your token. After you’ve done that, press the green “Save” button. When you do this, a special token number will appear. This number is made for you automatically.
4. You’ll see the token you just made in a table on the API Tokens page. It’ll be next to the name you gave it.
5. But what if you change your mind and don’t want to keep this new token? No problem. Just hit the gray “Cancel” button.
What Are The Available Endpoints In The Invoice Ninja Api
The Invoice Ninja API is pretty handy, but it has different features depending on the version you use and what your business needs. Here’s a list of some things you can do with it:
1. Clients: This helps you manage your client information.
2. Invoices: You can create, update, or get info about invoices.
3. Payments: It lets you handle payments for your invoices.
4. Products: This helps you manage your products or services.
5. Projects: You can use this to keep track of your projects.
6. Quotes: This is for creating and managing quotes for your clients.
7. Recurring Invoices: If you have regular bills, this feature is helpful.
8. Tasks: Keep track of tasks you need to do.
9. Time Tracking: This helps with tracking time spent on projects.
Read also: Invoice Ninja Self-Hosted: The Best Option For Small Businesses
Final Thought on Invoice Ninja API
In conclusion, the Invoice Ninja API is a handy tool that helps make your invoicing and payment processes smoother and more efficient. By following simple steps like creating an API token, you can ensure the security of your API requests. This token acts like a secret key, allowing you to connect with third-party partners who assist in various financial tasks.
The simplicity of this authentication method, using the X-API-TOKEN, ensures that your interactions with Invoice Ninja and its partners remain secure and straightforward. There’s no need for complicated authentication processes, making it user-friendly and accessible.
So, if you’re looking to streamline your invoicing and payment functions, the Invoice Ninja API is a valuable resource that can simplify your financial tasks with ease.


