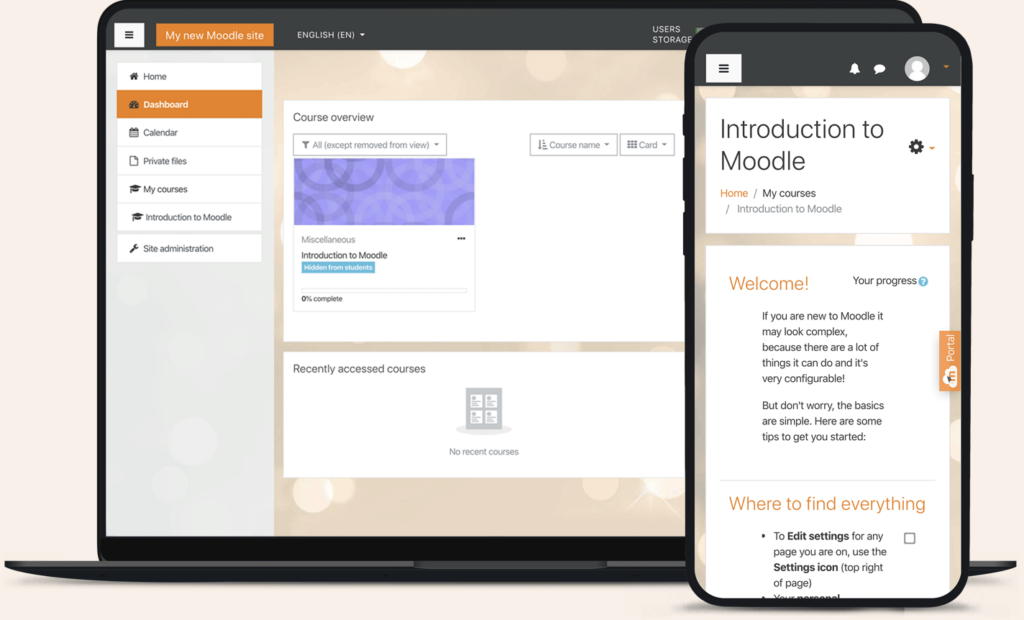
Let’s install Moodle on your web hosting using cPanel. cPanel is a reliable web hosting management tool.
As learned in the previous post, Moodle is a perfect tool to set up a learning environment. Leverage the platform and share with learners easily.
What you need before installation:
- A web hosting account with PHP and MySQL support.
- A domain name for your Moodle site.
Here is how to install Moodle on your Web Hosting using cPanel
- Log in to your web hosting account.
Use the cPanel credentials and log in to access your account details and make changes, that is, adding Moodle.
- Navigate to the Softaculous installer
Allows you to install Moodle automatically. It is less tedious than using the manual method that will have you upload the Moodle download.
- Proceed to Softaculous Categories
Click on Educational and let the list load for you to choose the recent Moodle platform. Scroll down to the most recent.
Let’s use Moodle 4.1. Here one has options to choose from; Demo shows the practicality of Moodle without having to install it.
Install now means setting up Moodle for your use. Let’s proceed to install.
- Click on Install
On this page, fill in the necessary information. Choose the domain name to use and the file directory to put Moodle.
Now fill in your site details and change your Moodle login credentials. Once you have all the details scroll down to install.
- Let the installer run, and once complete. You’ll get a confirmation below.
Use the URL given to access your Moodle site. Log in using the credentials you just made and proceed to customize your site.
Now you are in and ready to change your new Moodle site. Proceed to register your site also enable web services for mobile.
Follow the prompts and set up your site instantly.
It’s that simple to install Moodle on your Web Hosting using cPanel. Now connect with people instantly.
Additional tips for installing Moodle:
- Make sure that your web hosting provider has enough resources to support Moodle. Moodle can be a resource-intensive application, so you may need to upgrade your hosting plan if you have many users or content.
- If you are unfamiliar with PHP or MySQL, consider using a web hosting provider with a Softaculous installer. Installing Moodle without configuring your web server and database is easier.
- Change the default Moodle username and password. The default Moodle username and password are “admin” and “admin.” You should change these to something more secure.
- Enable two-factor authentication. Two-factor authentication adds an extra layer of security to your Moodle installation by requiring users to enter a code from their phone in addition to their username and password.
- Install a security plugin for Moodle. There are many security plugins available for Moodle that can help to protect your installation from attacks.
- Keep Moodle up to date with the latest security patches. Moodle is constantly being updated with security patches. You should keep your Moodle installation current to protect it from the latest security threats.
- Once you have installed Moodle, consider installing some additional plugins and themes. Many free and paid plugins and themes are available that can extend the functionality of Moodle and make it look more professional.
Sum up: Install Moodle on your Web hosting using cPanel;
It’s easy to install Moodle, as seen. Moodle helps you connect and share content with your class.
Remember to keep your Moodle installation and plugins up-to-date for security and performance reasons.
Additionally, check your hosting provider’s documentation for any specific installation procedures they may have.


