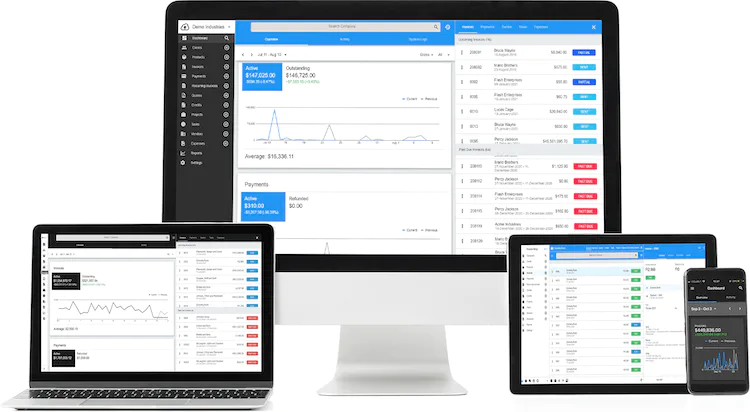
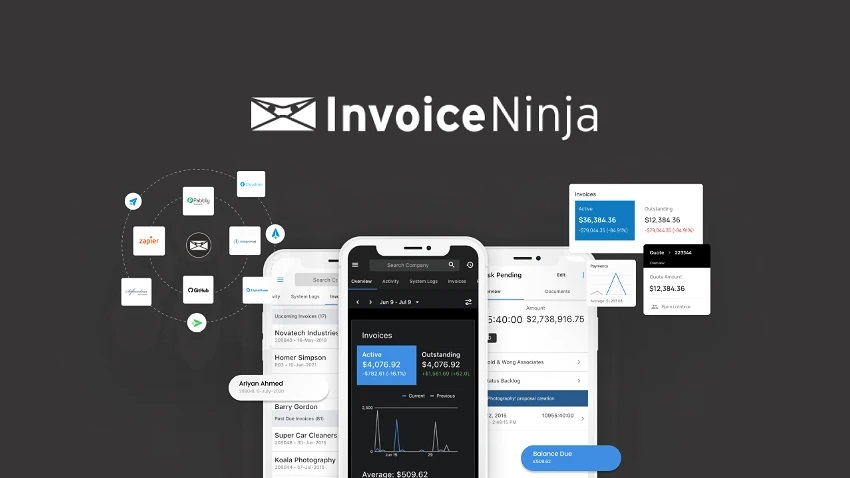
Invoice Ninja is a free invoicing software made for small and medium-sized companies, as well as freelancers. With it, you can make invoices, send them out, keep track of your spending, manage your vendors, and even set things up to happen automatically.
When you have data in other software or spreadsheets, like Excel, importing CSV files into Invoice Ninja can be really helpful. It’s like moving information from one place to another without having to type it all in again. This saves you time and makes it less likely that you’ll make mistakes.
This blog post will provide a step-by-step guide on how to import CSV files into Invoice Ninja.
Understanding CSV Files
CSV, which stands for Comma Separated Values, is a special way to save information. Think of it like making a neat list. Instead of using fancy stuff, it’s just plain words separated by commas. Every line in this list is like a record, and each record has different parts, all kept apart by those trusty commas.
Now, what’s cool about CSV files is that they don’t take up much space, unlike some other file types. So, they’re handy when you have loads of data to keep or share. People like to use CSV when they need to move tables from one program to another, even if those programs don’t talk the same language.
Here’s what you can find in a typical CSV file: stuff like a customer’s name, how much they need to pay, when it’s due, and other useful info.
Related: Invoice Ninja Integrations: Discover the Power of Integrations
How to Import CSV Data into Invoice Ninja
Alright, let’s get practical. I’m going to show you how to bring CSV files into a tool called Invoice Ninja. This can be super useful if you have info in other software or spreadsheets and you want to save time and avoid mistakes.
That’s the basics, but let’s dig deeper into it.
Here’s how you can bring CSV data into Invoice Ninja:
1. Begin by going to the “Settings” menu. You’ll find this at the top of your Invoice Ninja application.
2. In the “Settings” menu, look for “Import/Export.” Click on it.
3. Now, you’ll want to upload your CSV file. This is the file that contains all the data you want to add to Invoice Ninja. You can also use files from other accounting software if that’s what you have.
4. After you’ve uploaded your file, you’ll need to match the columns in your CSV with the columns in Invoice Ninja. This helps the system understand where to put each piece of information. It’s like solving a puzzle!
5. Sometimes, the matching might not be perfect, and that’s okay. You can adjust the matches as you need to make sure everything fits right.
6. Once everything looks good and you’re happy with the matches, it’s time to click on “Import.” This tells Invoice Ninja to bring in all the data from your CSV file.
7. Now, the system will get to work. It will process your CSV file and do all the hard work for you. You don’t have to sit and wait; Invoice Ninja will send you an email when it’s all done.
That’s it! You’ve successfully imported your CSV file into Invoice Ninja. It’s a handy tool to have in your business arsenal, making your invoicing and data management tasks much easier.
Read also: Invoice Ninja Custom Fields: What You Need to Know
Best Practices and Tips for CSV Import
Here are some helpful steps and advice for bringing CSV files into Invoice Ninja:
1. Proper Formatting is Key
First things first, make sure your CSV file is correctly formatted. That means having the right column headers and data types. This ensures that your data goes into Invoice Ninja without any hiccups.
2. Smart Column Mapping
Use Invoice Ninja’s clever import system to map your columns dynamically. This nifty feature allows you to match up the columns in your CSV file with the ones in Invoice Ninja.
3. Make Adjustments if Necessary
Sometimes, you might need to tweak the mappings to get things just right. This could involve changing column headers or data types as needed.
4. Test with a Sample
Before you go all in and import your entire file, it’s wise to do a trial run with a small chunk of data. This way, you can be sure everything will import correctly.
5. Choose the Right Category
When you’re uploading the CSV file, be sure it’s going into the correct category in Invoice Ninja. This simple step helps ensure that your data lands where it should.
6. Export in the Right Format
If you’re taking data out of Invoice Ninja, be mindful of the file format you select. You can pick from CSV, XLS, or JSON. Choosing the right one ensures that your data comes out looking just as it should.
By following these tips, you’ll be able to smoothly import your CSV data into Invoice Ninja. This not only saves time but also minimizes the chances of errors popping up along the way.
Related: Add Language To Invoice Ninja: Boost Business with Multilingual Invoicing
Conclusion on Invoice Ninja Import Csv
To sum it up, bringing in CSV files into Invoice Ninja can make invoicing much easier. Here are some important steps to keep in mind:
1. Proper Formatting: First and foremost, make sure your CSV file is set up correctly. This means organizing your data neatly so Invoice Ninja can understand it.
2. Mapping Columns: You’ll need to tell Invoice Ninja which columns in your CSV file correspond to the data fields it uses. This is like giving it a map to follow.
3. Adjusting as Needed: Sometimes, your data might not match up perfectly with what Invoice Ninja expects. In such cases, you’ll need to adjust your mappings to ensure everything lines up correctly.
4. Testing: It’s always a good idea to run a test import with a small batch of data to make sure everything works as expected. This helps catch any issues early on.
5. Using the Right Category: When you import your data, be sure to select the correct category. This helps Invoice Ninja know where to put your information.
6. Exporting in the Correct Format: If you’re exporting data from another system to use in Invoice Ninja, make sure it’s in a format that’s compatible.
By following these steps, you can be confident that your CSV data will be brought into Invoice Ninja smoothly. This not only saves time but also reduces the chance of mistakes.
I encourage you to give the CSV import feature in Invoice Ninja a try. You can also explore the various integrations available to make your invoicing even more efficient.
If you have any questions or need help along the way, don’t hesitate to check out the Invoice Ninja official documentation, ask for assistance from the Invoice Ninja community, or get in touch with an Invoice Ninja expert. They’re there to help you make the most of this handy feature.


