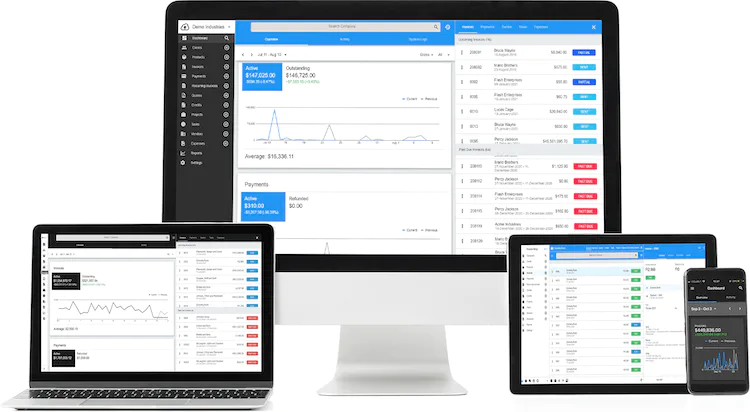
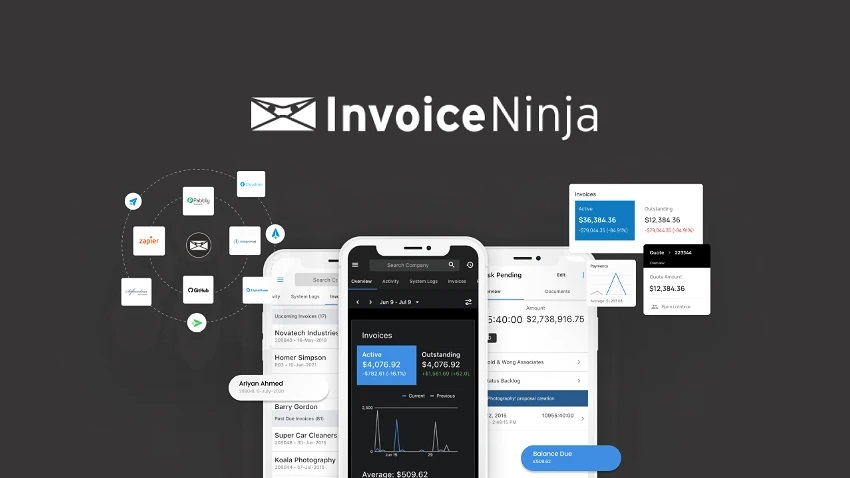
Invoice Ninja is a free invoicing software that you can use on your own computer. It’s a bit like those fancy online invoice websites, but it won’t cost you as much money. People who have small or medium-sized businesses and even freelancers can use this software. With Invoice Ninja, you can make invoices, keep track of your spending, handle vendors, and make your work easier.
Why Use Ubuntu 22.04?
Now, you might wonder why we’re talking about Ubuntu 22.04. Well, this is the computer language that Invoice Ninja speaks best. Using Ubuntu 22.04 means you get a stable and safe computer system. It’s like having a superhero computer that keeps bad guys away because it gets updates to stay strong.
Checking System Requirements
To set up Invoice Ninja on your Ubuntu 22.04 system, there are some basic things your computer needs to have:
1. PHP 8.1
You’ll need PHP 8.1, which is a special tool for making web applications. It is like the engine that runs Invoice Ninja.
It’s also good to have some extras for PHP too. These make PHP work better. Things like bcmath, gmp, fileinfo, gd, mbstring, pdo, xml, curl, zip, and mysql.
2. MySQL/MariaDB Server
This is where Invoice Ninja stores all its important data. Think of it as a big, organized file cabinet for Invoice Ninja.
3. Web Server
You can choose between Apache and Nginx. Think of them as the road that connects your computer to the internet. You need one of them.
4. Composer
This is like a super helpful assistant. It helps you get all the stuff Invoice Ninja needs.
Now, before you get started, you want to check if your computer has all of these. Here’s how you can do it:
- Open a special tool called the Terminal.
- Type this in and press Enter:
`sudo apt install php8.1-bcmath php8.1-gmp php8.1-fileinfo php8.1-gd php8.1-mbstring php8.1-pdo php8.1-xml php8.1-curl php8.1-zip php8.1-gmp php8.1-mysql php8.1-fpm`
- Type this in and press Enter:
`sudo apt install mysql-server`
- If you like Apache, type this and press Enter:
`sudo apt install apache2`
- Or, if you prefer Nginx, type this and press Enter:
`sudo apt install nginx`
- Lastly, type this and press Enter:
`sudo apt install composer`
These steps will get your computer ready for Invoice Ninja on Ubuntu 22.04. Before you start, remember to make sure your computer has everything it needs. Invoice Ninja works best on Ubuntu and similar systems. If you’re using something different, like Red Hat, it’s a good idea to use a container and the Docker image instead.
Read also: The Ultimate Guide to Installing Invoice Ninja on Ubuntu 20.04
Updating the System
To ensure your computer stays secure and works well, it’s crucial to keep it up to date. This means making sure you have the latest security fixes, bug repairs, and cool new features. For Ubuntu 22.04 users, here’s a guide on how to do just that:
Step 1: Opening the Terminal
First things first, let’s open a tool called the terminal. Think of it like a magic box where you can type in special commands to make your computer better.
To open the terminal, hold down two keys on your keyboard: Ctrl and Alt. While holding them, press the T key (Ctrl+Alt+T). This will open the terminal window.
Step 2: Updating the List of Stuff
Now that you have the terminal open, let’s tell your computer to check if there are any updates available.
In the terminal, type this command: `sudo apt update` and press Enter.
This command is like asking your computer to go online and see if there are any new things it needs.
Step 3: Upgrading Your Computer
Once your computer knows what’s new, it’s time to actually get those updates.
In the terminal, type this command: `sudo apt upgrade` and press Enter.
If your computer asks for a password, type it in and press Enter. Don’t worry, it won’t show the password as you type – it’s a secret!
After that, your computer will tell you what it’s going to do. It might ask if you’re sure about it. If you are, just type “y” and press Enter again.
Important Tips:
- If you want to switch to a totally new version of Ubuntu, like going from 22.04 to 22.10, you might need to do more than these steps. Sometimes, this can cause problems with some of your programs.
- To stay safe, it’s a good idea to read the official instructions or ask friendly folks in the Ubuntu community for help before making such a big jump.
- If you don’t want to worry about doing updates yourself, you can set your computer to do them automatically. This way, it’ll take care of itself and stay super secure.
Keeping your computer up to date is like giving it the latest superpowers to fight off bad guys and work even better. Just follow these simple steps, and you’ll have a secure and snappy Ubuntu 22.04 system ready to take on the digital world!
Related: Invoice Ninja Import Csv: Master the Art of Importing CSV Files.
A Step-by-Step Guide to Installing Invoice Ninja on Ubuntu 22.04
Step 1: Getting Ready with LAMP
To begin using Invoice Ninja on your Ubuntu 22.04, you first need to set up a LAMP stack, which is like the foundation for running Invoice Ninja. This stack consists of Linux, Apache, MySQL, and PHP, and you can put it all together with these commands:
Start by updating and upgrading your system with these commands:
`sudo apt update && sudo apt upgrade`
Next, you’ll need Apache, which is a web server. Install it like this:
`sudo apt install apache2`
Then, you’ll need MySQL to manage your databases. Install it with:
`sudo apt install mysql-server`
Invoice Ninja also requires several PHP extensions. Install them with this command:
`sudo apt install php libapache2-mod-php php-mysql php-curl php-json php-gd php-mbstring php-xml php-zip`
Finally, you’ll need Composer for handling dependencies. Install it like this:
`sudo apt install composer`
Step 2: Preparing the Database
Invoice Ninja needs a safe place to store all its data, and for that, you need a database. Here’s how you can create one and set up a user for it:
Start MySQL by typing:
`sudo mysql -u root -p`
Then, within MySQL, run these commands:
`CREATE DATABASE invoiceninja;`
`CREATE USER ‘invoiceninja’@’localhost’ IDENTIFIED BY ‘password’;`
`GRANT ALL PRIVILEGES ON invoiceninja.* TO ‘invoiceninja’@’localhost’;`
`FLUSH PRIVILEGES;`
`EXIT;`
Step 3: Download and Set Up Invoice Ninja
Now that you have the foundation ready, you can get Invoice Ninja up and running. Here’s how:
Go to the official Invoice Ninja website and grab the latest release.
Extract the downloaded files and make sure permissions are set correctly using these commands:
`git clone https://github.com/invoiceninja/invoiceninja.git /var/www/invoiceninja`
`sudo chown -R www-data:www-data /var/www/invoiceninja`
`sudo cp /var/www/invoiceninja/.env.example /var/www/invoiceninja/.env`
Step 4: Configure Invoice Ninja
You’re almost there! Now, you need to configure Invoice Ninja by setting up its `.env` file. Here’s how:
Open the `.env` file for editing:
`sudo nano /var/www/invoiceninja/.env`
Inside this file, you can adjust various settings, like the database connection and application key generation.
Step 5: Create a Virtual Host
To make it easy to access Invoice Ninja, you’ll want to create a virtual host. Here’s how:
Open a new configuration file for your virtual host:
`sudo nano /etc/apache2/sites-available/invoiceninja.conf`
Enable the virtual host with this command:
`sudo a2ensite invoiceninja.conf`
Finally, restart Apache for the changes to take effect:
`sudo systemctl restart apache2`
Step 6: Secure with SSL/TLS (Optional)
If you want to add an extra layer of security, you can enable SSL/TLS encryption:
Install Certbot to manage your SSL/TLS certificate:
`sudo apt install certbot`
Obtain and install the certificate for your domain:
`sudo certbot –apache -d your-domain.com`
Step 7: Verify the Installation
Now it’s time to check if everything’s working as it should:
Go to https://your-domain.com/public in your web browser. You should see Invoice Ninja.
Follow the initial setup instructions to ensure everything is properly installed and configured.
Step 8: Troubleshooting
Sometimes, things might not work perfectly. If that happens, search online for help. Lots of people share their tips and solutions for Invoice Ninja problems.
So, that’s how you get Invoice Ninja up and running on your Ubuntu 22.04 computer. Just remember, make sure you’ve got everything it needs before you start, and if you get stuck, there are plenty of people out there ready to help you out. Enjoy using Invoice Ninja!
Read also: Invoice Ninja Test Email: Troubleshooting and Customization


