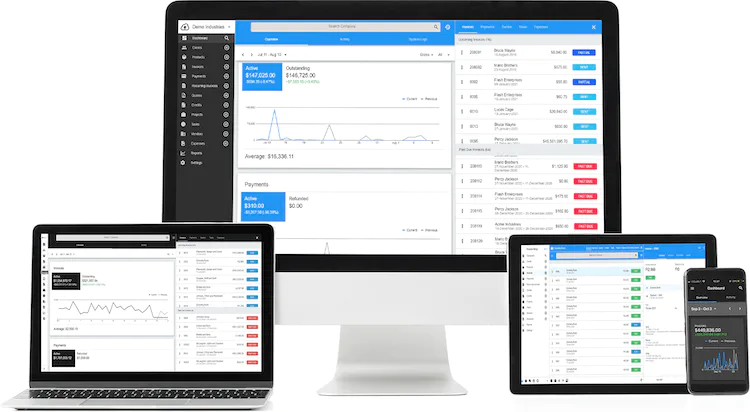
Email invoicing allows you to send invoices to your customers quickly and conveniently, allowing you to get paid right away. It also allows you to alert clients when an invoice is due, remind clients about missing payments, and many other things.
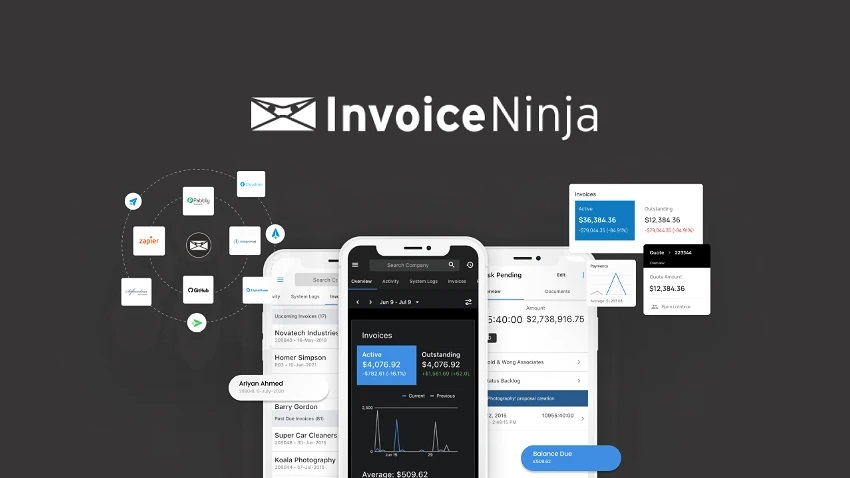
There are several email invoicing options accessible; nevertheless, you should select the one that is best for your company. Invoice Ninja is a fantastic invoicing tool that allows you to email invoices. It also has incredible tools for producing and delivering email invoices.
How to Set Up Email Invoicing: A Step-by-Step Guide
Here are the procedures you must take before submitting your invoice through email:
Step 1: Add client information. Enter information for all clients you intend to invoice, including their names, addresses, and email addresses. If your solution allows you to import a customer list, the process is made easier.
Step 2: Make an invoice number.
For tracking purposes, assign an invoice number. This is made simple by a system that produces consecutive invoice numbers automatically.
Step 3: Establish your payment arrangements. Indicate whether consumers can pay with a debit card, a credit card, an ACH transfer, or even a paper check.
Step 4: Add your line items. Make a list of all the services and/or items you want to bill. If your system saves and reuses line items automatically, this process can be sped up significantly.
Step 5: Include any additional costs or discounts. Take into account any applicable taxes or discounts. By computing invoice subtotals and totals, your payment solution may already make this simple.
Step 6: Set up recurring billing if necessary. If you wish to send this invoice regularly, you may arrange for it to be sent automatically so you don’t have to recreate it every time.
Step 7: Include any attachments. If you want to send supporting documentation with the invoice, now is the time to do so.
Step 8: Examine your invoice.
Before sending it to your consumer, double-check everything.
Step 9: Choose your recipients and then submit your invoice.
Choose who should receive your invoice, whether it’s many persons for the same customer or others who require it for their records. Choose whether they should receive the invoice by email or via mail. Send the message!
Step 10: Keep track of and manage your invoices.
You can check to see if your customer received, viewed, or paid your invoice. You may also set up automatic payment reminders to help customers who have forgotten to pay an invoice or are on the verge of missing a due date.
Invoice Ninja Initial Setup
When you initially log in, you’ll want to conduct some basic configuration, such as entering your company name, and address, and uploading your logo.
Go to settings and continue to fill out further information about your business. In the client interface and on your invoice PDFs, include your company logo. All emails sent through Invoice Ninja to your clients will include your company logo. You will also set your defaults.
Still, in the company details section, make sure to select your defaults for all invoices. This covers the payment type, the quote validity period, and the expense payment type.
After filling in all your details, you create an invoice which you integrate with your preferred payment gateway. Sent it to the client to get paid.
Email Invoicing with Invoice Ninja
Invoice Ninja has an Email settings tool that allows you to configure specific settings and designs for the notification emails your clients receive from your Invoice Ninja account.
The Email Settings page is divided into three sections: Email Settings, Email Designs, and Email Signature.
1). Email Settings
Reply-To Email: Enter the email address to which your clients will respond. (This is the email address that will appear when your customers select “Reply” to your Invoice Ninja emails.)
BCC Email: Enter this if you wish to send a secret copy of your client communications to another email address. (Your clients will not notice).
Attach PDFs: Do you want to be able to attach PDF files to your emails? Select the Enable checkbox.
Please provide the following documents: Do you want to be able to attach documents to your emails? Select the Enable checkbox.
2). Email Design
By selecting a design layout, you may make your emails appear more professional. Open the drop-down menu to select the desired style. Plain (standard email layout), Light (graphic layout with light border), and Dark (graphic layout with dark border) are the available layouts. Click the question mark symbol at the right end of the field to preview the various styles.
Allow markup: Do you want to give your clients the option of paying you online with a direct link from the invoice notification email? To include a payment link or any other call to action to the invoice email, check Enable markup. Your customers can then click through to make an online payment.
3). The Email Signature
Fill in the blanks with free text to personalize your email signature. Then, using the formatting toolbar, format and personalize the design of your email signature. You can modify the font, size, and emphasis, underline, add bullets and hyperlinks, and do a variety of other things.
If you want to create your email signature in raw HTML, at the bottom right of the free text area, click the gray Raw button. Then type your HTML and press the Update button.
Template and Reminders
You may personalize all of your emails by choosing a template, text, and design, as well as setting the frequency of reminder emails
Email Design Templates
Separate templates can be created for invoice emails, quote emails, and payment emails. To do so, select the appropriate tab. The parameters you select will be applied to that exact email.
- Subject: Enter the text you want to appear in the subject line of your invoice/quote/payment emails. You can also specify factors that are important to you, such as invoice number, firm name, due date, and so on. To examine a list of available variables, click the question mark symbol on the right side of the Subject box. Click the Reset link directly above the question mark icon to reset your entry.
- Body: Enter the desired text to customize the email body text. Variables can also be entered based on your preferences. To examine a list of available variables, click the question mark symbol on the right side of the Subject box. Click the Reset link directly above the right-hand side of the body text box to reset your content.
- Toolbar: Immediately below the body text field is a bar that contains all of the formatting options you’ll need to design your invoice email, such as font style, font size, bold/italics/underline, strikethrough, font color, background color, numbering, bulleting, alignment, and hyperlinks.
Raw HTML allows you to modify your invoice/quote/payment emails. At the bottom right of the area, click the gray Raw button. A window will be opened. Insert your HTML code here. When finished, click Update.
Preview: Want to see the email as it will be seen by your client? By clicking the blue Preview button, you can examine your invoice/quote/payment email in a new window at any moment.
Email Reminders
Your clients may require a pleasant reminder about their outstanding payments from time to time. Invoice Ninja supports up to three reminder emails, and you can completely modify the email content and delivery timing to your liking.
Create distinct templates for the first, second, and third reminder emails. To do so, select the appropriate tab. The options you select will be applied to that specific reminder email.
Schedule: Define the reminder email’s schedule by entering values into the three schedule boxes: the number of days after/before the due date/invoice date. The reminder will be delivered based on the values you enter into these three fields.
Check the Enable box if you want the reminder email to be delivered automatically according to your schedule. If you do not select Enable, no email reminders will be sent.
Late Fee Amount: Enter a late fee amount to be applied to the invoice for late payments. You can change the amount for each reminder email (for example, you could double the late fee with each late reminder email).
Late Fee Percentage: Enter the late fee as a percentage of the total invoice amount.
Subject: Enter the words you want to see in the subject line of your reminder email. You can also specify factors that are important to you, such as invoice number, firm name, due date, and so on. To examine a list of available variables, click the question mark symbol on the right side of the Subject box. Click the Reset link directly above the question mark icon to reset your entry.
Body: Enter the desired text to customize the email body text. Variables can also be entered based on your preferences. To examine a list of available variables, click the question mark symbol on the right side of the Subject box. Click the Reset link directly above the right-hand side of the body text box to reset your content.
Toolbar: Immediately below the body text field is a bar that contains all of the formatting options you’ll need to create your reminder email, such as font style, font size, bold/italics/underline, strikethrough, font color, background color, numbering, bulleting, alignment, and hyperlinks.
Raw HTML: You can use raw HTML to customize your reminder email. At the bottom right of the area, click the gray Raw button. A window will be opened. Insert your HTML code here. When finished, click Update.
Preview: Want to see the reminder email as it will be seen by your client? By selecting the blue Preview button, you can view your reminder email in a separate window at any time.
Conclusion
Invoice Ninja is an excellent invoicing software that allows you to email invoices. It also includes fantastic features for creating and sending email invoices.


