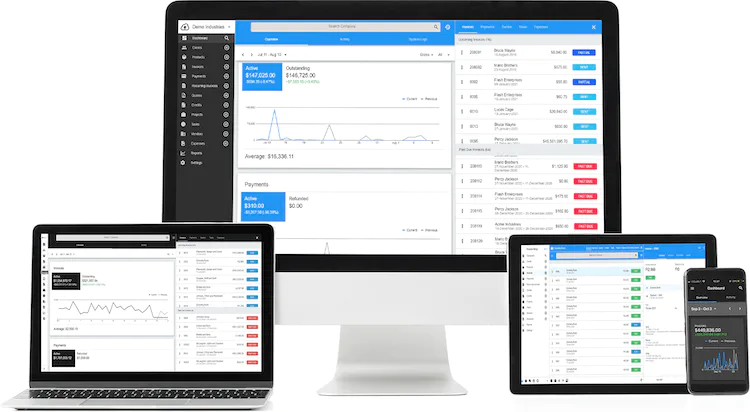
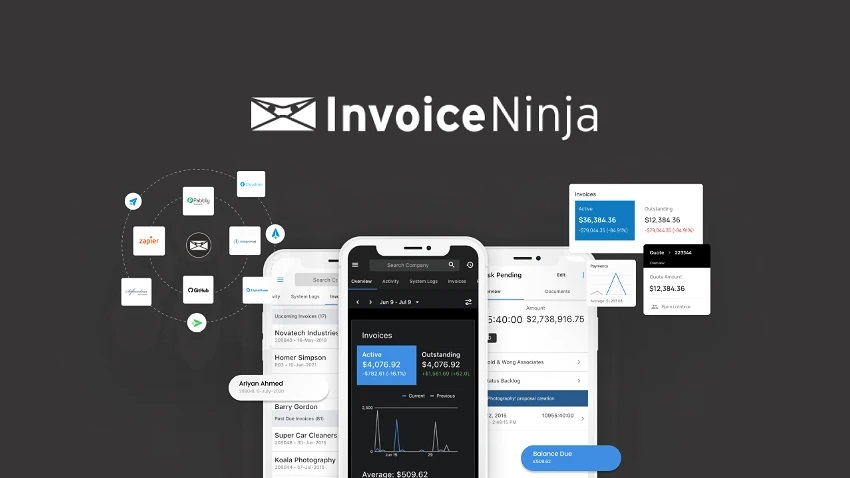
Here are the steps to use Invoice Ninja:
1. Sign Up
Start by going to the Invoice Ninja website. There, you can create your own account. This is like making your own special space in the Invoice Ninja world.
2. Add Your Clients
Now that you have your special space, it’s time to add your clients. Think of it like making a list of all the people or companies you’ll be sending invoices to.
3. Create Invoices
Once you have your clients listed, you can create invoices for them. Just choose a client from your list, and then write down all the things you did for them and how much they owe you.
4. Send Invoices
After you’ve made your invoices, you can send them to your clients. You can do this by email or by saving them as PDF files, which are like electronic pieces of paper that you can send to them.
5. Get Paid
When your clients give you money, you need to record it. This way, you know who paid you and who still owes you. Think of it like keeping score.
6. Track Expenses
Sometimes, you spend money to run your business. You should also keep track of these expenses. It’s like knowing how much it costs to run your lemonade stand.
7. Generate Reports
Reports are like special papers that show you how much money you made, how much you spent, and how much you’re left with. It’s like a report card for your business.
8. Customize Settings
You can make Invoice Ninja look and work just the way you want it to. You can choose your language, the kind of money you use, and where you live. It’s like decorating your room the way you like it.
Remember, how you use Invoice Ninja might be a little different depending on the version you have and how your business works. If you’re not sure, you can always check the official Invoice Ninja instructions, talk to other people who use it, or ask an Invoice Ninja expert for help. They’ll help you figure out the best way to use it for your own business.
Read also: What’s The Best Invoice Ninja Alternative
How To create a new invoice in Invoice Ninja
To make a fresh invoice in Invoice Ninja, you can do these steps:
1. First, go to the Invoices section. You can find it on the main sidebar.
2. Next, you should look for a plus sign “+” and give it a click. This special button helps you start a new invoice.
3. After you’ve done that, a new page called “Invoices / Create” will pop up. This is where you get things rolling for your invoice.
4. Here’s the important part: Fill in all the important details for your invoice. Don’t forget to add info about the customer, the stuff you’re charging them for, and when they need to pay.
5. Once you’ve filled everything out, you’ll see a “Save” button. Click on it to keep your new invoice safe and sound.
How To customize the look and feel of my invoices in Invoice Ninja
You can make your invoices in Invoice Ninja look just the way you want them to. Follow these steps to personalize your invoice design:
1. Go to Settings: Start by clicking on the “Settings” tab found on the main sidebar.
2. Choose Invoice Design: After that, click on the “Invoice Design” option.
3. Customize & Preview: Now, select the “Customize & Preview” option. This is where the fun begins!
4. Use the Design Tool: Inside the customization tool, you can change a lot of things. You can pick different colors, change the fonts, add your company’s logo, adjust the sizes of margins, and even rename the columns. You can do so much more too!
5. Save Your Changes: Don’t forget to save all your changes. That way, your invoices will always look the way you want them to.
Read also: Invoice Ninja Self-Hosted: The Best Option For Small Businesses
How to Make Your Invoices Look Awesome in Invoice Ninja
Want to make your invoices look super cool in Invoice Ninja? Here’s how you can do it:
1. Start by Going to the Invoice Design Page:
- Click on “Settings.”
- Then, click on “Invoice Design.”
- After that, select “Customize & Preview.”
2. Choose a Design That You Like:
- There are lots of design options.
- You can pick from Bold, Elegant, Hipster, and Business templates.
3. Make It Unique for Your Company:
- Customize the design so it matches your company’s style.
- You can change the colors, fonts, logos, and more.
- Even the margin sizes, column names, headers, and footers!
4. Be a Design Pro:
- If you’re really good at design, you can make the invoice look exactly how you want.
- You can go beyond the templates and create something special.
5. Add Extra Info if You Need It:
- Want to put more stuff on your invoices? No problem!
- Go to “Settings,” then “Invoice Design,” and click on “Invoice Fields.”
- You can add custom fields there.
6. Don’t Forget to Save:
- Once you’ve made your invoice look perfect, save it.
- Just click the “Save” button.
7. Get Fancy with 11 Template Designs:
- Invoice Ninja gives you 11 different designs to choose from.
- You can put your company logo, pick colors you like, and make detailed changes.
8. Want Something Extra Special?
- If you want something really, really special, you can ask a developer to make a custom design for you.
By following these steps, you can make your invoices in Invoice Ninja look fantastic! Your business will look super professional, and your brand will shine through.
It’s important to know that if you’re good at design, you can make your invoice look unique. You don’t have to stick with the regular templates that Invoice Ninja offers. You can be as creative as you want!
Also, if you want even more customization options, there are some other services like Bold Compass that can help. They offer special designs and extra features for Invoice Ninja.
How do I track my billable hours in Invoice Ninja
Here’s a simple guide to help you keep track of your billable hours in Invoice Ninja:
1. Create a Project
Start by going to the Projects tab on the main sidebar. From there, you can make a new project.
2. Add Tasks
Once you’ve created your project, it’s time to add tasks to it. You can assign these tasks to your team members. This way, everyone knows what they need to work on.
3. Track Your Time
Your team members can use the time-tracking app to record how much time they spend on each task. This is super important because it helps you know exactly how long each job takes.
Remember, the time-tracking feature is your best friend here. It lets you keep a super accurate record of every second you spend on each task.
4. Send Tasks to Invoice
When a task is completed, you can easily send the work time for that task to an invoice. Just click a button, and it’s done.
Invoice Ninja makes it easy to turn your hard work into money!
5. Extra Info
Invoice Ninja also has a time-tracking feature built in. It’s like a stopwatch that helps you measure your billable hours and put them right into your invoices.
And guess what? If you need even more advanced features, you can connect Invoice Ninja with other tools like Monitask.
6. Different Strokes for Different Folks
Depending on which version of Invoice Ninja you’re using and the needs of your business, the steps might vary a bit. So, it’s a good idea to check out the official Invoice Ninja documentation or ask for help from the Invoice Ninja community or an expert if you’re not sure what to do.
Now you’re all set to keep track of your billable hours like a pro in Invoice Ninja!
Related: Is Invoice Ninja Free?


