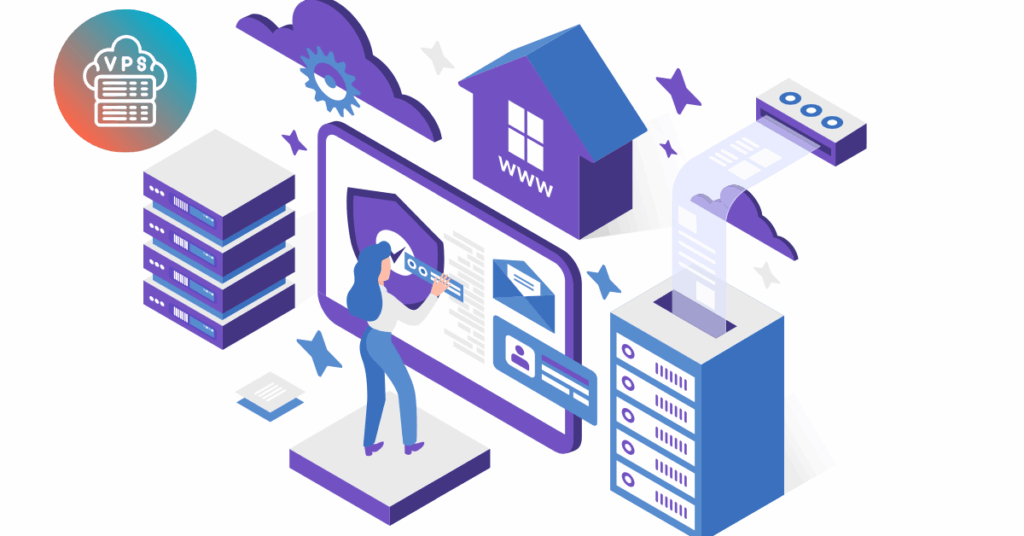
Are you ready to embark on the exciting journey of setting up your very own Virtual Private Server (VPS) in Kenya?
In this comprehensive guide, we will walk you through the step-by-step process of setting up a VPS, from choosing a provider to optimizing its performance.
So, let’s dive in and get your VPS up and running smoothly!
Step 1: Choose a VPS Provider
The first crucial step is selecting a reliable VPS provider that meets your specific requirements. Take your time to compare different providers in terms of pricing, resource allocation, and customer support. You want a provider that offers the perfect balance of affordability, scalability, and top-notch service.
Step 2: Purchase a VPS
Once you have identified your preferred VPS provider, it’s time to make a purchase. During this process, you will need to provide some basic information, including your desired operating system and the amount of storage space you require. Remember, these details will determine the foundation of your VPS setup.
Step 3: Log into Your VPS
Congratulations on securing your VPS! Now, it’s time to log into your virtual space. Typically, this is achieved through Secure Shell (SSH) protocol. For detailed instructions on logging into your VPS, consult your provider’s documentation for a seamless entry into your virtual world.
Step 4: Update Your VPS
Now that you’re inside your VPS, it’s important to keep it up-to-date with the latest software. Updating your VPS ensures optimal security and functionality. Stay ahead of the game by installing the latest security patches and software updates.
Step 5: Create a New User
By default, you will be logged into your VPS as the all-powerful root user. To enhance security, it’s wise to create a new user with restricted privileges. This way, you minimize the risk of accidental modifications that could affect your VPS’s stability.
Step 6: Set Up a Firewall
Security is paramount in the world of VPS. To protect your virtual fortress from unauthorized access, set up a firewall using your VPS’s operating system firewall settings. A firewall acts as a shield, monitoring and controlling incoming and outgoing network traffic.
Step 7: Install Software
Now that your VPS is fortified, it’s time to install the necessary software to meet your specific requirements. Whether it’s a web server, a database, or any other applications, ensure you have the right tools in place to make your VPS environment functional and productive.
Step 8: Configure Your Applications
With your software installed, it’s time to fine-tune your applications to match your needs. This involves providing essential settings, such as the IP address of your VPS and the appropriate port numbers for seamless communication. Configuration ensures your applications work harmoniously within your VPS environment.
Step 9: Test Your Applications
Before you invite the world to experience your VPS-powered applications, it’s crucial to conduct thorough testing. Visit your applications in a web browser or use command-line tools to ensure they are functioning correctly. This step allows you to identify and address any potential issues before your users encounter them.
Valuable Tips for Setting Up a VPS in Kenya
To ensure a smooth and successful VPS setup experience, consider the following tips:
- Keep your VPS up to date with the latest security patches and software updates.
- Use a strong password for your root user account to fortify your VPS against unauthorized access.
- Utilize a firewall to protect your VPS from potential threats and unwanted intrusions.
- Install security software on your VPS to enhance protection against malicious activities.
- Regularly back up your V
PS to safeguard your data in case of unforeseen events.
How to Optimize Your VPS Performance in Kenya
Once your VPS is up and running, you’ll want to maximize its performance for optimal user experience. Here are some handy tips to help you optimize your VPS:
1. Keep Your VPS Up to Date: Regularly update your VPS’s operating system, web server, and other installed software. Outdated software may have security vulnerabilities and can hamper performance.
2. Utilize a Content Delivery Network (CDN): Implementing a CDN can significantly enhance your website’s performance, especially for users located far away from your VPS. A CDN stores and delivers your website’s content from servers distributed globally, reducing latency and improving loading times.
3. Embrace Caching: Enable caching techniques to store frequently accessed data in memory. This helps reduce the load on your VPS by minimizing the number of requests made to your database or other slower resources, resulting in improved performance.
4. Optimize Your Database: If your VPS hosts a database, ensure it is optimized for maximum performance. This involves removing unnecessary data, optimizing database tables, and utilizing indexes to speed up queries and data retrieval.
6. Monitor Your VPS Performance: Regularly monitor your VPS’s performance using tools like Munin and Nagios. Monitoring allows you to proactively identify and address any performance bottlenecks or issues that may arise.
By following these optimization tips, you can ensure your VPS performs at its best, providing a seamless experience for your users.
What Next?
Congratulations!
You are now armed with the knowledge to set up your VPS in Kenya like a pro. Remember, choosing the right VPS provider, securing your environment, and optimizing performance are the key ingredients to a successful VPS setup. So go ahead, unleash your creativity, and bring your digital endeavors to life with the power of a VPS!


